A Dutch joint is also known as an inside-out joint, and these popular joints are well represented in the coffee shops of Amsterdam, where the weed is plentiful.
What Is A Joint?
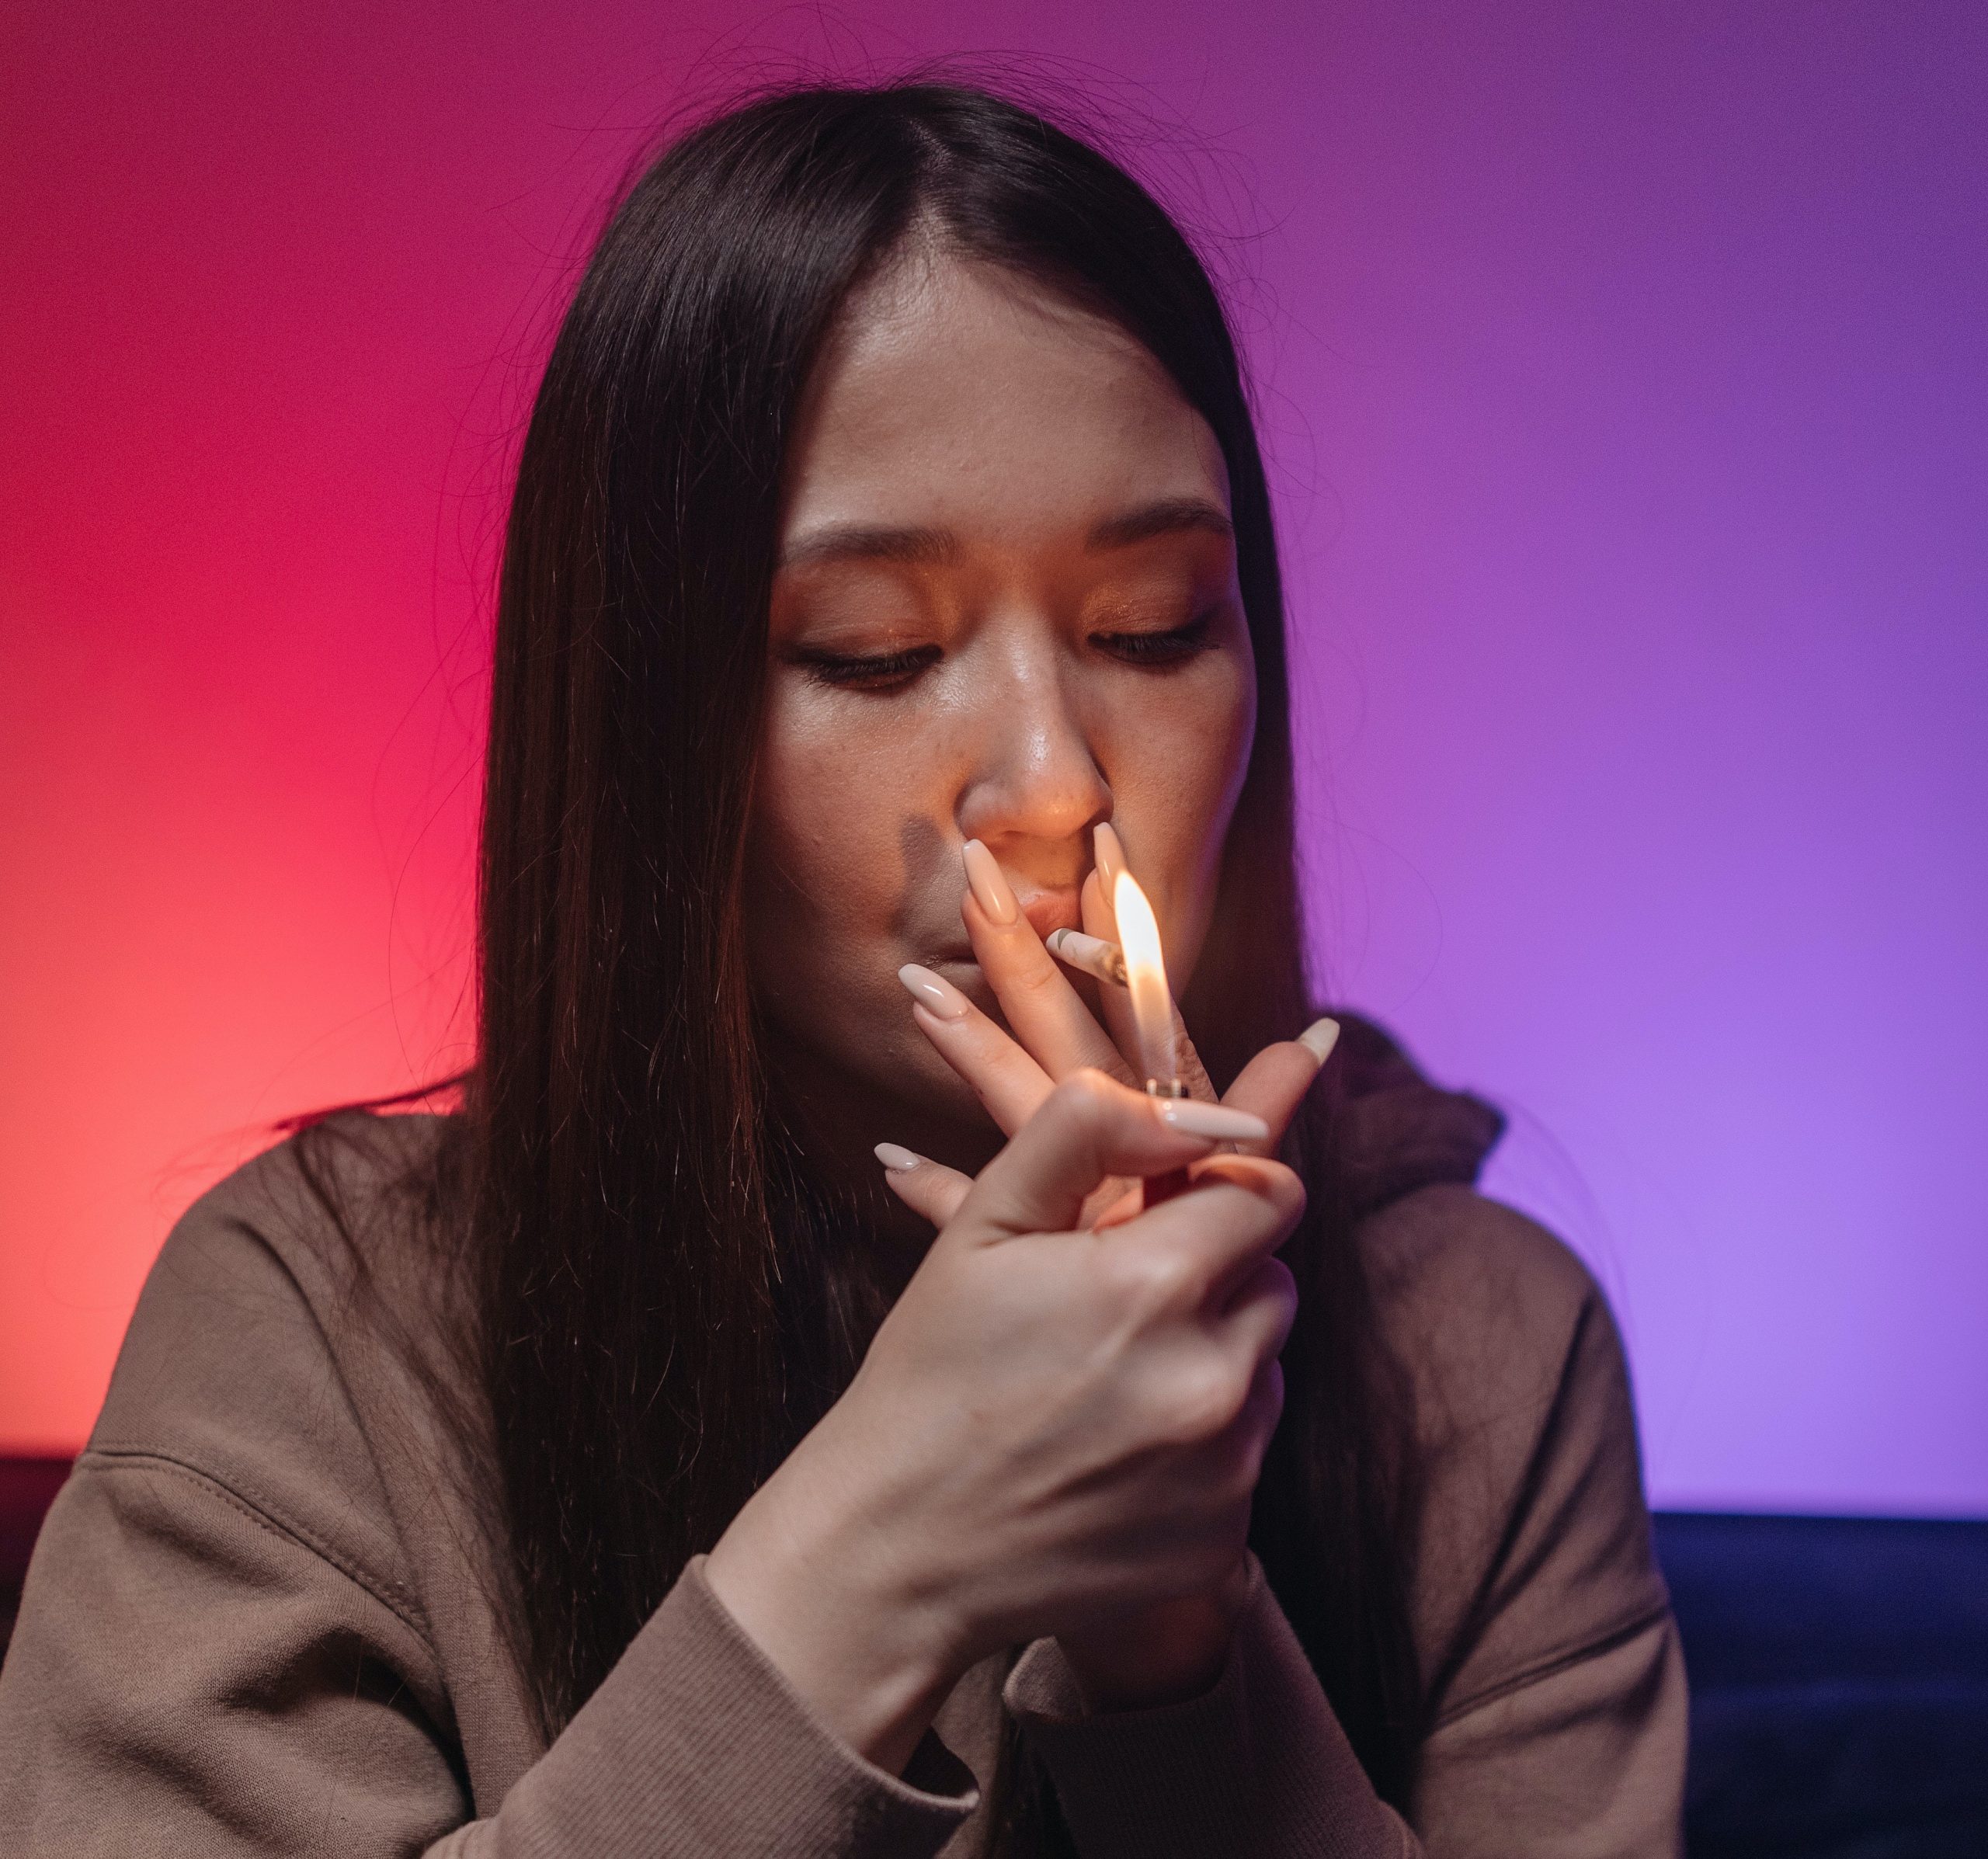
A joint is a marijuana cigarette. It is made by rolling a small amount of ground cannabis into a narrow cylinder, and then lighting it on fire.
The joint was first popularized in the 1960s when marijuana became more socially acceptable. It became even more popular during the hippie era when people started making their own joints at home using rolling papers and loose marijuana.
A joint can be made from any kind of tobacco or marijuana, but it is usually made from cannabis because it produces much more smoke than tobacco does. A common misconception about joints is that they are always made with tobacco, but this isn’t true. The only thing that makes them “joints” is the way they’re rolled: into a long cylinder like a cigarette.
What Types Of Joints Are There?
The most common types of joints are:
Regular – cannabis is commonly rolled in cigarette paper to make a standard joint. These are typically made by hand rolling them, and no additional equipment is needed.
Pinner – a pinner is a small joint that can be smoked in one or two hits and is often considered more for novice smokers.
Spliff – also known as a blunt or joint, this type of cannabis cigarette is made using two separate papers instead of one. The process is similar to making a regular joint but instead of rolling the paper around the cannabis, it’s rolled around both ends of the cigarette. The result is a larger surface area for smoking and greater enjoyment when inhaled.
Joints come in all shapes, sizes, and flavors!
There are many types of joints, but they all consist of the same basic ingredients: paper, cannabis, and a flame.
Paper
Hemp or rice paper is used to make the most popular kind of rolling papers. Due to their thinness and transparency, these papers let you see what’s within while smoking. Additionally, they burn more slowly than thicker sheets, making them simpler to manage while rolling joints.
Cannabis
There are many different strains with unique flavors and effects. Some popular options include indica (which is known for its relaxing effects), sativa (which can help relieve anxiety), and hybrid strains (which combine the best qualities of both). You can also choose whether you want your buds ground up or left whole; whole buds tend to burn slower than ground ones because they have more surface area exposed to oxygen when lit on fire.
Flame
Joints can be lit using a variety of methods; matches or lighters are both common options for lighting a joint. However, if you’re looking for an extra burst of flavor or a stronger effect from your joint, try using a blowtorch instead! This method gives off an intense heat that releases
How Do You Roll A Regular Joint?
Weed joints are the most common method of consuming cannabis. They can be made from either pre-rolled or rolled using rolling paper. Regular joints are easy to roll and smoke and can be enjoyed by all levels of smokers, but if you want to learn how to roll a joint, then here’s how:
Step 1: Find yourself some papers and some bud
Step 2: Grind up your cannabis
Step 3: Roll the paper around the bud (you can also use a grinder to do this)
Step 4: Lick the edge of the paper and seal it off with your finger
Step 5: Roll up your joint (if you want it extra tight, you can use a filter tip)
Try these different types of cannabis joints next time you smoke!
What Is A Dutch Joint?
Now that you know how to roll a regular joint, you can gradually progress to a Dutch joint. A Dutch joint, also commonly referred to as an inside-out joint is a unique variation of your standard joint. They provide the user with a great deal of flavor, and they are also known to be a bit smoother on the lungs. Less paper is used to make them, and for these reasons, many people consider them to be better than standard joints.
Dutch joints might sound like they are complicated joints to make, but they aren’t. You’ll find them in coffee houses all over Amsterdam. A Dutch joint is a joint where the paper is folded inside-out. That means the glue is facing outward instead of inward. The joint is rolled backward to ensure that the glue strip is nicely tucked into the joint.
Why Choose Dutch Joints?
Dutch joints result in a better overall experience for many people because of their flavor profile and smoothness. You aren’t inhaling as many chemicals, carbon, or tar in comparison to other joints. Because of that, you’re getting more out of your weed. Because of how they are rolled, they are able to burn more evenly throughout the entire process.
Rolling An Inside-Out Joint
It’s best to master the basics of rolling a standard joint before you go and try to roll a Dutch joint. While the materials you’ll need are much of the same, joint rolling can be a tricky process to master.
To get started, you’ll need:
- Your weed
- Grinder
- Rolling papers
- Filter strips
- Lighter
What Are The Steps?
Follow these steps, and you’ll be well on your way to enjoying an inside-out joint.
Step 1
Gather your cannabis and start to grind it up.
Step 2
Get your filter strip and start to roll it.
Step 3
Flip your rolling paper over so that the glue strip is facing the surface of whatever you’re using to roll it on. At this point, the glue strip should be near you.
Step 4
The rolling paper should be created such that it is inside out and the strip is still pointing in your direction. Now that the filter should be on the other end, you should put your ground marijuana into the joint’s seam.
Step 5
The glue strip should still be facing you in this step. Begin to roll the paper using your thumb and forefingers until it starts to look like a burrito or cone. The cannabis should be spread out evenly throughout the joint, but try to make sure that it’s not too tight at the same time.
Step 6
At this point, you can now fold the glue strip on top of the other side of the bud. Make sure it’s nicely tucked toward the opposite side of the paper, beginning at the filter and working your way through the rest of the joint. Try to be patient during this process, as it can take some time. After you’re finished, the glue strip should end up being tucked nicely without any visible creases along the rest of the joint.
Step 7
If you did the previous steps correctly, your glue strip will be facing upwards underneath another layer of the joint paper. Lich the glue strip and then use your finger to press down on it.
Step 8
Use your fingers to ensure that the weed is evenly distributed throughout the rest of the joint.
Step 9
Make a tear in the paper flap where the glue strip is located, beginning with the end that the filter is on. You’ll want to ensure that the glue is still sealed.
Step 10
Make a twist in the end of the joint, light it up, and try to envision yourself standing out of the canals and staring at the beautiful windmills of Amsterdam.
Final Thoughts
Rolling an inside-out joint can be a fun process to try out, especially if joints are your preferred method of consumption.