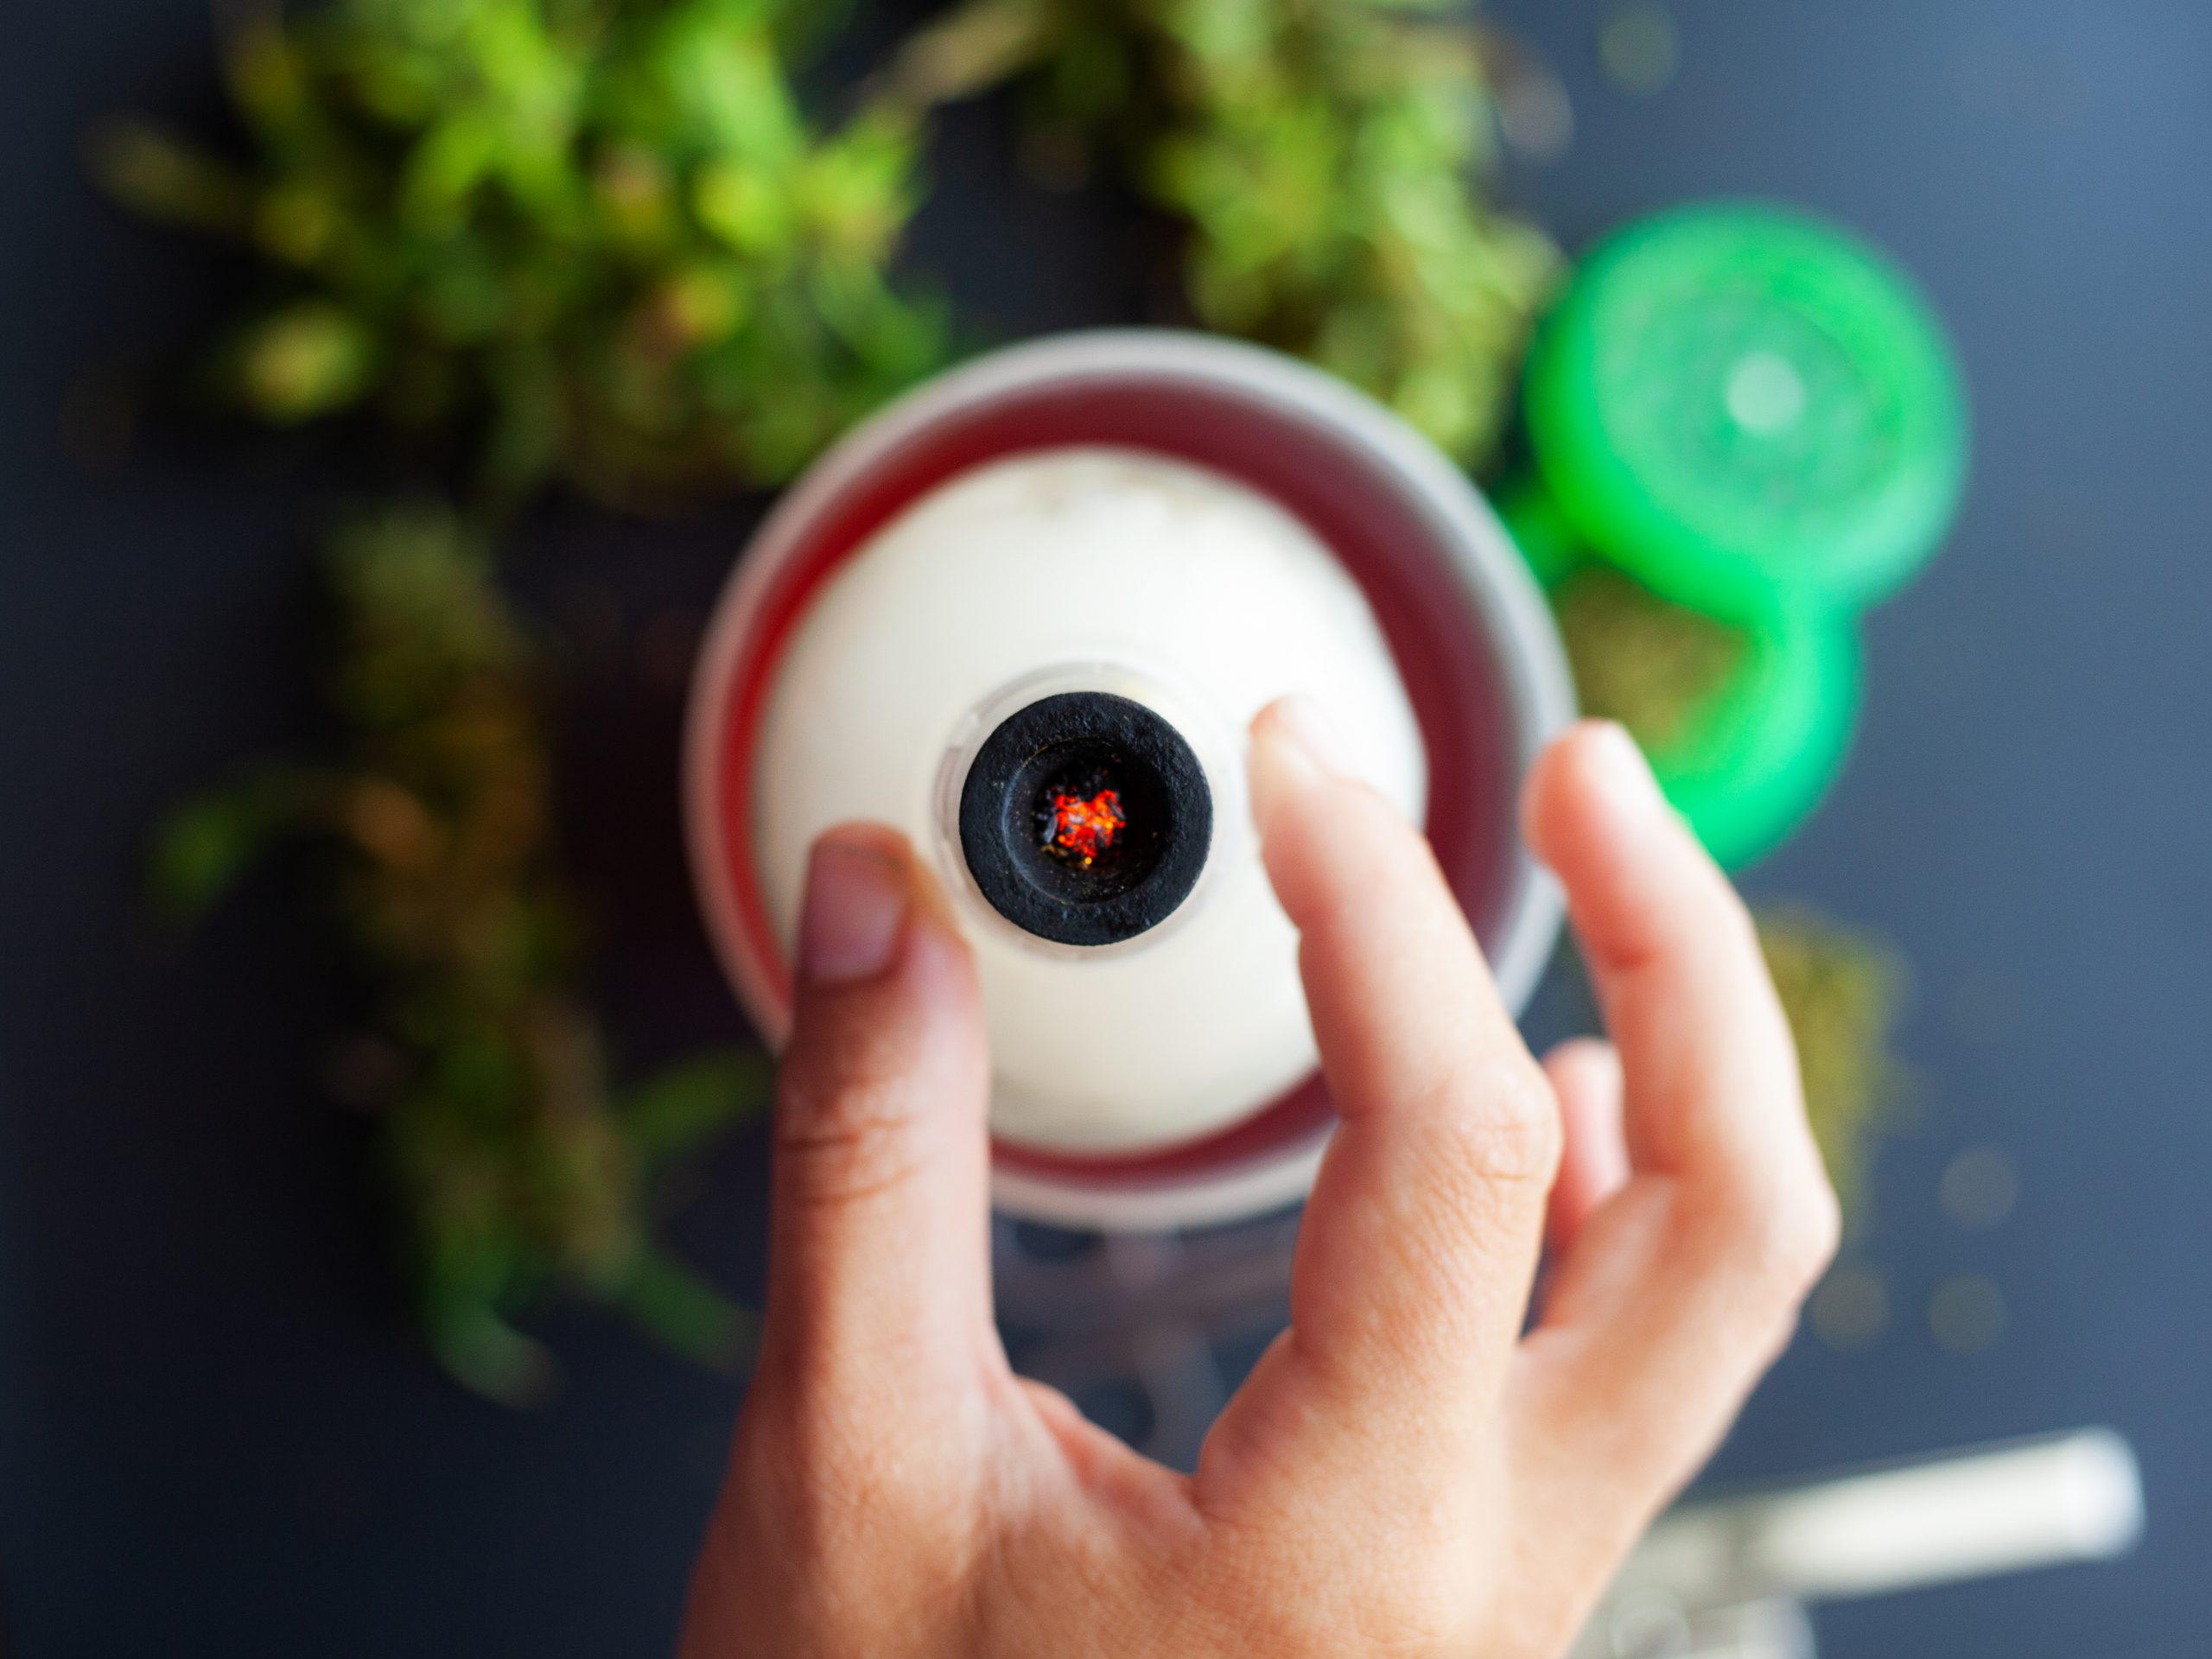
If you have run out of rolling paper and are too high to go buy some more, this is the right article for you. We reckon this is a good time for you to learn how to make your own water bottle bong. You need to be aware that smoking weed out of a plastic water bottle as well as using aluminum is not advisable in the long term. This method should only be used in an urgent one-off situation when you have run out of any other options to smoke your weed. If you find yourself having to use your homemade water bottle bong all too often, it is a good sign that you need to invest in a good glass bong, this will be a much safer weed delivery method, unless, of course, if you drop it. So let’s right to it, this is our step by step guide to making your own water bottle bong.
How to make a water bong? Have you asked yourself the question, is using a bong healthier than smoking joints? As a matter of fact, the jury is still out on that one. Back to the reason why you are here, the items you will need to make a bong are either already in your house or they are very easy to get. That is why making water bottle bongs is so easy when you do not have access to a pipe or a regular bong. The items you will need to make a bong are:
- Scissors
- Aluminum foil or metal bowl
- Plastic water bottle
- Sewing needle or pin
The bottle
Choosing a bottle with the correct dimensions will make your life a whole lot easier. A good candidate is a typical soda bottle, which is a 17-ounce plastic water bottle. Got an empty coke bottle lying around somewhere? This is the time to put the bottle to use. Take the lid off, you can also take the label off if you want to. Now that you have a bottle, you can move to step 2.
Aluminum foil
You will need an aluminum foil to act as a bearer of the bud. In your kitchen, grab a roll of foil and rip off a small square patch, one about the size of your palm. If for some reason you do not have any aluminum foil in your house, simply go buy some. You can just ride a bike to the store and save yourself money on gas and to get some exercise. The thicker kind of aluminum foil gets the job done more effectively if for some reason you happen to only have the thin flimsy variety, simply tear another patch and make a double layer patch by putting them one on top of the other.
Then put the foil on the mouth of your bottle where the cap was screwed on, then fold the aluminum foil over both sides of the bottle so that it firmly grips it. Using your finger, apply enough pressure in order to make a slight depression of the foil at the mouth, so that it sinks inside a bit (this is where you put the bud). You can use a needle, a pen or a toothpick to poke holes into the foil. be sure to keep the holes far away from each other so that they do not morph into one and end up giving way.
Hole in the bottle
Use a straight pin or a needle to puncture a hole right on the side of the bottle. Make the hole close to where the top border of the bottle label used to be. Once you have created a hole, you can then enlarge it to around 1 inch in diameter using a pen or scissors.
It is blaze time
Put some plant material in the depression of the foil, put your mouth against the hole on the side of the bottle, blaze up the bud, then start inhaling the smoke through the hole. Not a bad deal!
